Creating a successful WooCommerce website requires careful attention to its settings. Proper configuration ensures that your online store functions smoothly, providing customers with a seamless shopping experience. This guide will walk you through the essential settings needed to optimize your WooCommerce website, from general configurations to advanced options.
1. General Settings
The general settings are the foundation of your WooCommerce website. These settings define how your store operates and displays essential information.
To access the general settings:
- Log in to your WordPress dashboard.
- Navigate to WooCommerce > Settings.
Here, you will find several tabs, but the General tab is where you’ll begin. This tab allows you to configure:
- Store Address: Input your store’s physical address, which helps calculate shipping and tax rates.
- Currency Options: Choose your store’s currency, currency position, and thousand separators.
- Selling Locations: Determine where you want to sell products and ship them.
These general settings are crucial for establishing the operational basics of your WooCommerce website. They must align with your business’s geographic scope and currency preferences.
2. Product Settings
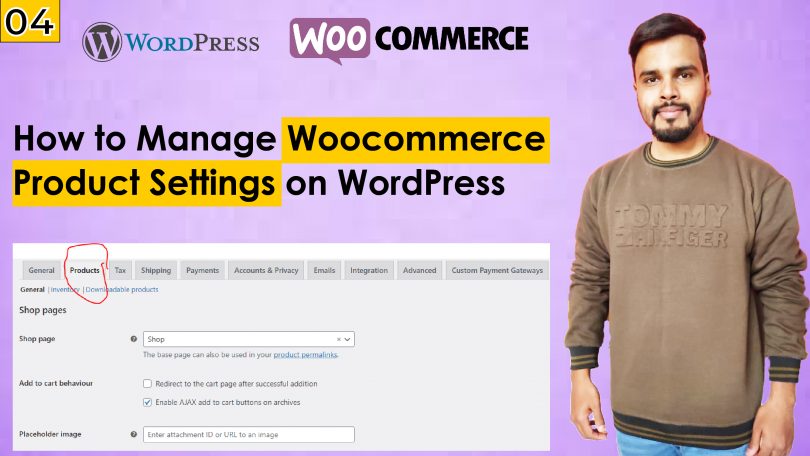
The product settings section is where you configure how products are displayed, managed, and processed on your WooCommerce website. Proper configuration of these settings ensures that your products are easy to find, purchase, and manage.
To set up product settings:
- Go to the Products tab within the WooCommerce settings.
Here, you can configure:
- Shop Page: Select the page where your products will be displayed. Typically, this is the Shop page.
- Weight and Dimensions: Set the default units for product weight and dimensions, crucial for accurate shipping calculations.
- Product Reviews: Enable or disable product reviews. Allowing reviews can boost your WooCommerce website’s credibility, but it’s essential to moderate them properly.
You can also manage how your products are displayed, such as by setting a default sorting order or enabling the display of ratings on product pages. These settings play a significant role in how customers interact with your WooCommerce website.
3. Tax Settings
Taxes can be complex, but WooCommerce makes it easier to manage them directly through your WooCommerce website. Configuring tax settings correctly ensures that your business complies with local laws and regulations.
To configure tax settings:
- Navigate to the Tax tab within the WooCommerce settings.
You’ll find several options to manage taxes:
- Enable Taxes: Check this box to activate tax calculations.
- Tax Classes: Set up different tax classes for various products, like standard or reduced rates.
- Display Prices: Choose whether to display prices inclusive or exclusive of tax on your WooCommerce website.
These settings are essential for making sure your customers are charged the correct amount of tax at checkout, depending on their location.
4. Shipping Settings
Shipping is a critical aspect of any WooCommerce website, and it needs to be set up carefully to meet your business needs and customer expectations.
To configure shipping settings:
- Go to the Shipping tab in the WooCommerce settings.
Here, you can manage:
- Shipping Zones: Define specific geographic regions and assign shipping methods to each. This allows you to offer different shipping options based on the customer’s location.
- Shipping Methods: Set up various shipping methods such as flat rate, free shipping, or local pickup.
- Shipping Classes: Create shipping classes for products that have similar shipping requirements, making it easier to manage shipping rates on your WooCommerce website.
Properly configured shipping settings ensure that your WooCommerce website can handle deliveries efficiently, providing clear and accurate options to customers during checkout.
5. Payment Settings
The payment settings determine how customers will pay for their orders on your WooCommerce website. WooCommerce supports multiple payment gateways, allowing you to offer a variety of payment options to suit your customer base.
To set up payment settings:
- Click on the Payments tab in the WooCommerce settings.
Here, you can:
- Enable Payment Gateways: Choose which payment methods to offer, such as PayPal, Stripe, or direct bank transfers.
- Manage Payment Methods: Customize each payment gateway, including API keys, transaction fees, and other settings.
Ensuring a smooth and secure payment process is critical for your WooCommerce website, as it directly impacts customer satisfaction and trust.
Conclusion
Configuring the settings on your WooCommerce website is a vital step in building a functional and user-friendly online store. By carefully setting up general, product, tax, shipping, and payment settings, you can create a seamless shopping experience that meets your business objectives and customer needs. Remember, the key to a successful WooCommerce website is in the details, so take the time to configure each setting according to your specific requirements. This will not only improve the functionality of your WooCommerce website but also enhance the overall customer experience.


